


The flat white, first made popular in Australia, is taking the world by storm. A trendy, delicious coffee drink that is small enough to drink quickly, yet not so intense as an espresso macchiato or a Spanish cortado.
What makes a flat white so unique? The milk to espresso ratio is the biggest tell for a flat white, but the texture of the foam when made is also a fine detail in a good flat white. Making a flat white at home is simple, but first you need to learn how. We’ve broken it down into a simple three step process.

 Steps:
Pull espresso
Foam the milk
Pour
Using these steps, you can make a high end flat white in your own kitchen! Here they are explained in detail.
1. Espresso
The start to almost any quality coffee drink is the espresso. You can make or break a drink as you pull your espresso shots, so be sure to practice pulling excellent shots.
What to do
A flat white takes a double shot of espresso, which should be standard for most espresso machines. If you have to do two single shots because of limitations, that is ok, just go about the process quickly in order to save your espresso from spoiling.
I always attempt to pull the shots just before foaming my milk. If I can time it well, I can begin pulling the shot of espresso, then move over to foaming milk while the espresso pulls. Be sure not to over-extract your espresso by letting it pull too long.
Expert Advice on Espresso
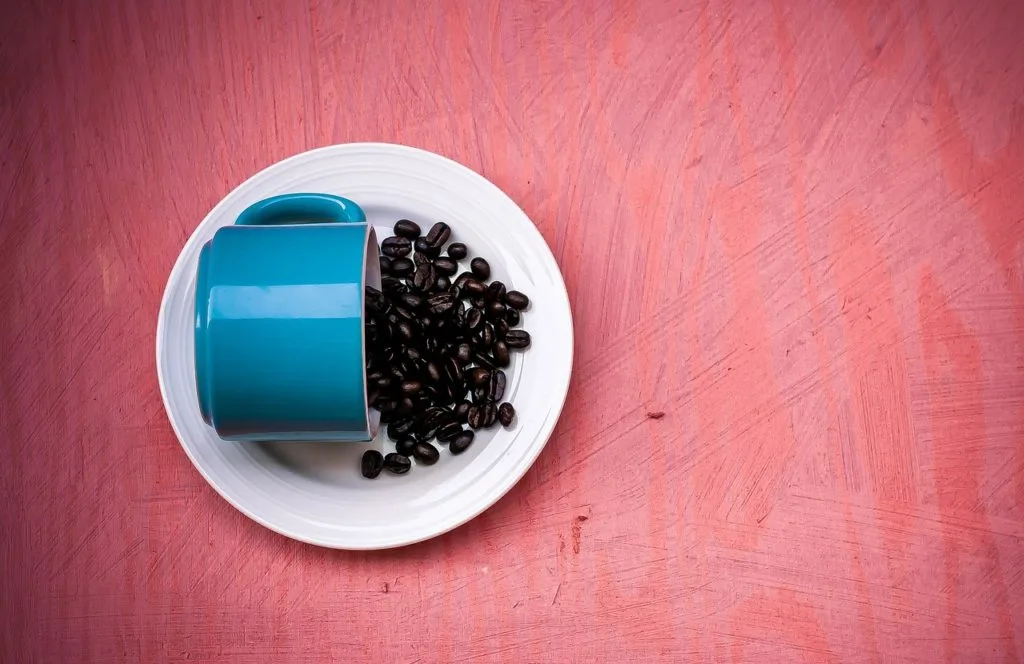
Use Good Beans
Good espresso starts with having good beans. Don’t cut yourself short on the beans. Buying locally roasted beans will make a stark difference. The fresher the roast, the better the flavor, in my opinion.
Another expense that is well worth the investment is a commendable burr coffee grinder. Without equally sized grains, your espresso is doomed to come out uneven and lacking in flavor. Once you have the right equipment and produce, it’s time to pull the perfect shot of espresso.

 Length of a Pull
A local coffee roaster can explain to you how long you should pull the shots of espresso using their coffee. Many even have it posted on the bag.
By adjusting your grind size, or tamp weight, you can control how long it takes to pull your espresso. Once you have it dialed in, it shouldn’t be difficult to pull again.
2. Milk Foaming
The next step in how to make a flat white at home is foaming the milk flawlessly. Foaming milk is a very technical part of making good coffee, and takes time to perfect. But there are certainly some technical ideas to keep in mind when working toward that delicious flat white.
What to do
Purge the steam wand before steaming your milk (blow out air before putting the pitcher near it) to clear excess water in the wand. Place the tip of the wand just underneath the surface of the milk, and turn the steam wand on again. The milk should be circulating, and making a noise like tearing paper, but very quietly.
To make your milk circulate, the wand must be at an angle in the pitcher. That angle depends on your specific steam-wand, but generally is between 15 and 40 degrees. Play around with different angles until your milk starts to circulate. You will become awesome at finding that angle after running it through a few times.
After a second, push the wand deeper into the milk to stop the foaming, and heat it up to about 68 degrees Celsius (about 150 degrees Fahrenheit).

 Expert Advice on Foaming Milk
When foaming milk, you should always use cold whole milk. Don’t let your milk sit on the counter for too long, and don’t sacrifice outstanding micro-foam texture by using skim.
Pour the milk into your pitcher straight out of the refrigerator, and just before steaming.
How Much Foam?
A flat white is traditionally made with little-to-no milk foam. It should have just enough micro-foam to show on the top of the drink, but no more than half of a centimeter (about ¼ of an inch). To make this amount of foam, be sure to move quickly from the initial foaming stage to the secondary.
Foam Texture
The foam is what gives a flat white that smooth texture. It shouldn’t have any big bubbles in it. If there are big bubbles all over the place, retry steaming the milk, and keep the wand a little deeper in the milk as you start. If you find just a few bigger bubbles through your milk, you can swirl the jug around, then tap it onto the counter. That should pop the bigger bubbles, and leave the silky micro foam behind.
3. Perfecting the Pour
Swirl your milk in the jug one last time to make sure the milk and micro-foam are still combined and tantalizingly ready. Pour quickly at first, then slow your pour if you want to make a design.
Expert Advice on Pouring
Pouring the foamed milk into the espresso beautifully is not as important as having good micro-foam and espresso. An ugly, delicious, flat white is still a delicious one. And you can rarely make good latte art without first having good foam.
Focus more on steaming your milk well and pulling delicious shots before working on latte art. With that said, art on your drink is a majestic addition to any espresso drink. Even the most basic form of a good milk pour is beautiful.


A piece of pouring that is important is having the correct cup to pour into. A tulip style coffee cup is ideal for a flat white. Make sure you have the correct size for a flat white as well, around 5 OZ.
Practice Makes Perfect
Like any other skill, making good espresso and foaming milk take a bit of practice. Focus on the details and you will continue to improve. While it takes a lot of thinking right now, the more you hone those skills, the more natural the process will become.
Flat whites are the new big trend in coffee shops around the world for a reason. They are a delicious and quick drink. Practice makes perfect and soon they will be delicious and quick to make.
Related: What Makes Good Coffee? How to Make a Great Cup of Joe